Our Location
5th Floor, Huake Center, Lanshan District, Linyi City, Shandong Province, China

5th Floor, Huake Center, Lanshan District, Linyi City, Shandong Province, China
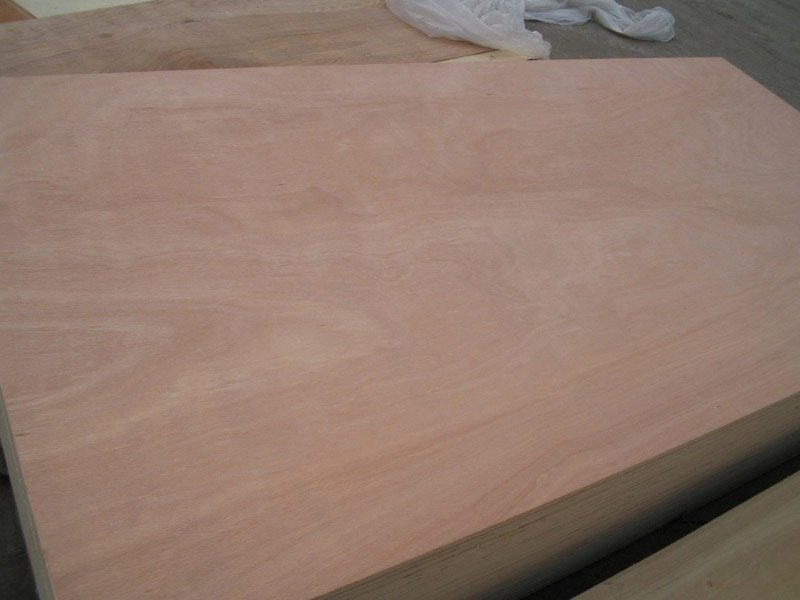
A plywood guide clamp exists to hold a straightedge or a jig in the exact place the drawing marks, so the first cut on the panel comes out square and true. The clamp carries the line through the cut, and any slip at the clamp shows up as a crooked edge on the finished part.
This guide covers the clamp families that suit panel work, the setup that keeps a guide square, the mistakes that throw the line off, and the purchase details that match a clamp to the panels and jigs the shop runs.
Panel work pulls three clamp families into service, and each holds the guide in a different way against the saw travel.
An edge clamp reaches over the guide bar and presses it down onto the sheet, so the clamp body sits outside the saw travel. The reach sets how far the guide can sit from the rim, which is why the clamp family follows the offset the drawing demands.
An edge clamp grips only as well as the rim allows, so a thin veneer edge risks a crush under full pressure. Test the clamp on a scrap edge of the same panel first, then dial the pressure back until the guide holds without a dent at the contact.
An edge clamp grips the panel rim and presses the guide down from above, which keeps the clamp body out of the path of the saw. The grip lands on the edge, so the jaw padding and the panel thickness both decide whether the setup marks the face.
A toggle clamp locks with one motion and releases just as fast, which suits a jig that repeats on every sheet. The clamping force comes from the linkage rather than the handle turn, so the pressure stays consistent across a production run.
A vacuum clamp seals against a smooth face away from the edge, and it holds a guide in the middle of a wide sheet where no rim exists. The cup demands a clean, non-porous surface, so a dusty face breaks the seal and lets the guide drift.
The guide only holds the line the setup gives it, and three habits keep the setup true through the cut.
| Setup step | What it prevents | How to check |
|---|---|---|
| Measure both ends | Guide parallel to the edge | Tape at each end of the run |
| Clamp the far end first | Guide creeping during lockdown | Sight the line after lockdown |
| Test the saw base against the guide | Base riding high on the clamp | Run the saw unhurried, no blade |
A story pole marked with the rail offset lets the crew set the guide without a tape on every sheet. The pole carries the one measured distance from the blade to the rail edge, and the setup repeats at that mark on every panel in the run.
A guide set from one end drifts across a wide panel, and the cut follows the drift off the mark. Measure the offset at both ends of the run, then sight the line before the saw touches the wood.
Locking the clamps can walk the guide off the mark by a fraction, and the saw follows that fraction into the part. Sight the line at both ends after the clamps lock, then loosen and reset the near end if the offset has shifted beyond the drawing tolerance.
Clamping the far end first lets the near end settle against the mark, while the reverse order walks the guide off the line as the second clamp tightens. The sequence costs nothing and saves the re-cut that a walking guide forces.
Most crooked cuts trace to a setup choice rather than the saw, and four mistakes show up in almost every audit.
A dust port hanging over the guide rail collects chips at the base and lifts the saw off the line. Run the saw unhurried along the guide before the blade enters, and move any clamp or port that fouls the travel, because the cut follows the base.
A clamp that sits under the saw path lifts the base off the guide, and the blade wanders the moment the base tips. Run the saw unhurried along the guide before the blade enters the cut, and move any clamp that fouls the travel.
A long guide flexes between two distant clamps, and the cut follows that bow across the middle of the sheet. Add a third clamp at the flex point, or choose a stiffer guide, because the bow costs a part on every sheet.
The purchase follows the panels and the jigs the shop actually runs, and four details settle the comparison.
Clamps that ride on the guide bar move with the jig rather than clamping the panel to the bench, and the pair repeats on every sheet. The setup suits a production run where the same offset appears on panel after panel.
Clamp capacity must clear the thickest panel the shop handles with margin, because the heavy sheet tests the throat. A clamp bought for the average panel fails on the outlier that arrives next season.
The throat decides how far from the rim the guide can sit, and a shallow throat forces the setup toward the margin where the risk of drift rises. Match the throat to the widest offset the drawings demand.
A hard pad holds a rough sheathing face without complaint, while a show face needs a compliant pad that spreads the pressure. Ask for a test clamp on a scrap face before the purchase, because the mark tells the story the catalog cannot.
Answers shops raise at the panel bench.
A laminate face resists a hard jaw and shows a crush mark at the contact point, so a compliant pad spreads the pressure. Test the clamp on a scrap face before the run, then keep the pad clean so the mark stays within the tier the drawing allows.
Enough to hold the line without flex from end to end, which usually means two on a short run and three on a full sheet. Add one where the guide visibly bows.
With a compliant pad, yes, and the mark sands out. Move the clamp to a hidden edge when the joint allows it.
A vacuum clamp seals against a clean face away from the rim, and it holds a guide where no edge exists. Clean the contact area before every seal.
Measure the offset at both ends of the run, then sight the line before the saw touches the wood. A tape at one end alone leaves the far end to guess.
A spare set of jaw pads in the bench drawer keeps the shift running when a pad tears mid-run. Replace both pads as a pair rather than one side, because an uneven pair tilts the guide and walks the cut off the mark.
When it no longer holds full pressure through a cut, or when the linkage develops play that walks the guide. A worn clamp costs a part on every sheet.
A guide clamp earns its place when the capacity clears the thickest panel, the throat reaches the widest offset, and the pads suit the face. Once the setup measures both ends and locks the far end first, the cut follows the line the drawing marked. When the next run needs panels that hold a clean edge under a guide, Commercial Plywood covers the general range, Melamine Plywood brings a factory face that resists handling marks, and Film Faced Plywood seals surfaces for wet service. Confirm the panel face, the batch, and the certificate with HYY before the order goes out, then check the delivered sheets at the dock.