Our Location
5th Floor, Huake Center, Lanshan District, Linyi City, Shandong Province, China

5th Floor, Huake Center, Lanshan District, Linyi City, Shandong Province, China
Buyers who search plywood p bass usually arrive from two directions: a builder cutting a solid-body instrument in the P Bass pattern, or a cabinet maker bracing an enclosure that has to move air without buzzing. Both paths lean on the same plywood property, which is how the cross-banded plies damp vibration instead of letting it ring through the panel.
This guide covers why plywood earns a place in instrument bodies and speaker cabs, how to choose the sheet for each build, how to construct the body or the enclosure so the panel behaves, and how to finish the surface so it survives years of handling.
Solid timber rings while plywood controls the vibration, and that difference decides how an instrument sustains and how a cabinet colors the sound.
Each veneer layer runs across the one beneath it, and the glue lines between layers convert vibration into heat instead of letting the panel resonate freely. An instrument body built from that panel sustains a controlled note rather than a wild one, while a cabinet wall that damps instead of rings keeps the enclosure from adding its own voice to the driver. Builders who want the panel to stay quiet choose the construction for exactly that reason.
A neck pocket cut into a stable panel keeps the scale length and the string line where the drawing put them, while a body that bows pulls that relationship out of spec. Builders who route the pocket after acclimation hold the alignment through the first heating season, then confirm the pocket against a straightedge before the neck bolts go in.
A solid timber body can bow when the humidity swings, and that bow pulls the neck alignment out of spec after one winter. Plywood restrains itself across the grain, so the body stays flat and the neck pocket stays where the drawing put it. The stability matters even more in a cabinet that travels between a heated van and a cold venue.
A body or a cabinet built from plywood carries the mass of the plies without the density of a hardwood slab, which keeps an instrument on a strap and a cabinet on a dolly within reach. Builders who need more mass laminate a second layer with reversed grain rather than stepping up to a slab that the crew has to lift twice.
The instrument path and the cabinet path ask different questions of the same sheet, and the answers set the grade and the thickness.
| Build | What matters most | Typical panel |
|---|---|---|
| P Bass body | Flatness, screw holding, grain | Baltic birch or hardwood face |
| Speaker cabinet | Damping, edge strength, brace grip | Baltic birch, multi-ply |
| Instrument template | Dimensional stability | Any stable sanded panel |
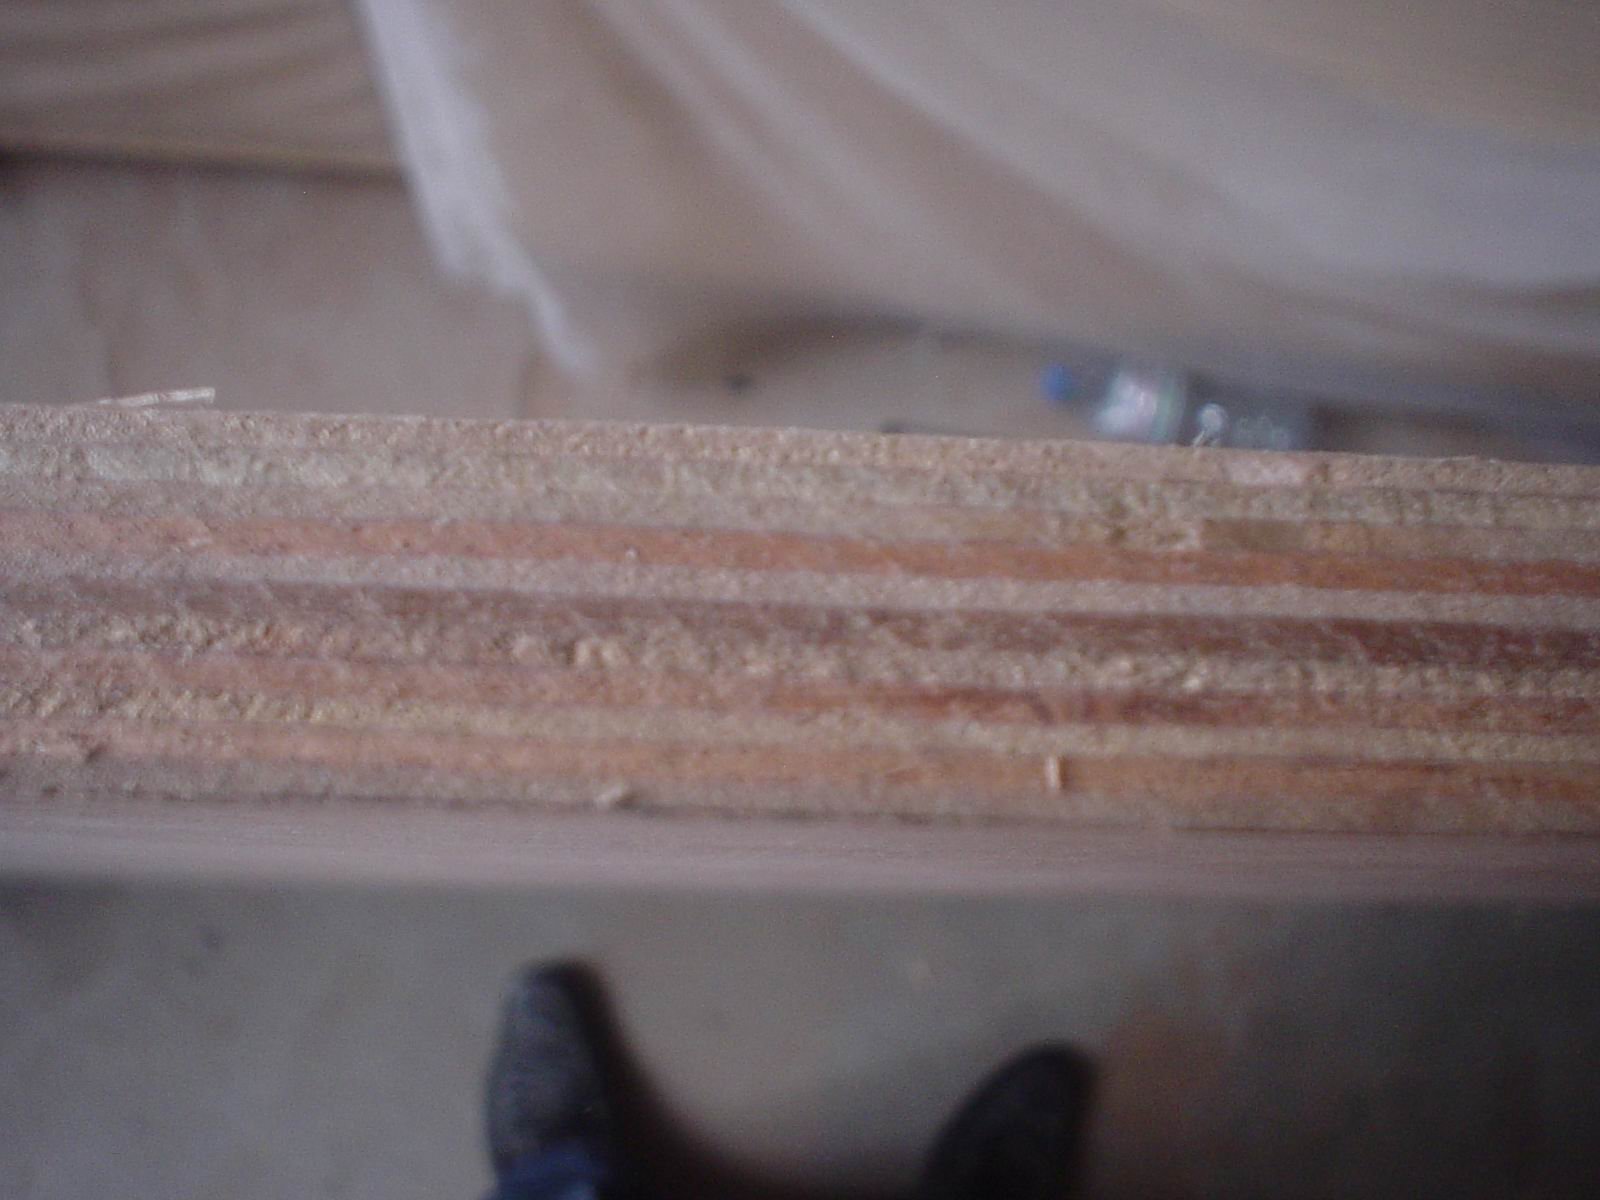
Multi-ply birch panels carry more layers than a construction sheet of the same thickness, and those layers show at the exposed edge as a clean stripe that builders often leave visible. The dense, uniform plies hold a screw at the bridge mounting and take a routing template without tear-out. Confirm the ply count against the thickness, because two sheets sold as the same size can differ by two plies.
A translucent finish on an instrument body shows the veneer tone, so the face earns a clean grade with an even grain. A painted cabinet accepts a middle tier that spends the savings on bracing instead. Grade each part against the finish the drawing names rather than ordering one face for the whole build.
The construction step decides whether the panel behaves as one piece after the fasteners and the glue cure.
A bond that closes only at the rim leaves a hollow zone that rings under a pickup, while clamps set across the whole face pull the layers into one panel. Space the clamps so the pressure overlaps, then check the glue line at the center before the squeeze-out hardens. The pattern at the clamp keeps the laminate honest.
A body that needs more weight gets a second layer glued with the grain reversed, which adds mass while the crossed plies keep the assembly flat. Clamp the pair across the full face rather than at the edges, because a bond that closes only at the rim leaves a hollow zone that rings under a pickup. The glue line also carries the screw threads that hold the hardware.
A cabinet wall that flexes under internal pressure pushes the driver response off its design, and the flex shows up as a coloration that no equalizer removes. Add braces at the span the panel allows, then screw and glue them into solid plies rather than the edge. The brace costs an offcut and removes the resonance the panel earns without it.
The finish protects the panel from sweat, stage lights, and the knocks a traveling build collects, and the sequence follows the material underneath.
A back plate behind the driver flange spreads the mounting load across solid plies rather than the baffle face, and it seals the cutout edge at the same time. Cut the plate from the same panel as the baffle so the finish absorbs evenly, then screw it behind the driver before the wiring goes in.
The stripe of plies at the edge absorbs finish at a different rate than the face, and an unsealed edge darkens unevenly under the first coat. Seal the edge with a thinned pass, let it cure, then build the coats across the face and the edge together. The pre-seal keeps the stripe even after the fourth coat.
A bridge or a jack plate that gets fitted after the topcoat lands leaves a scratch ring no touch-up hides, so the fit belongs to the raw panel. Mount the hardware, mark the holes, then remove it and sand the surface flat before the first coat goes on. The dry pass keeps the finished face unmarked through the install.
Sanding that cuts through a thin veneer leaves a burn mark no topcoat hides, so the grit steps down rather than up between coats. Block-sand with a flat pad rather than by hand, because a finger that presses harder creates the dish the raking light reveals. The discipline at the sanding block keeps the face planed and flat.
Answers builders raise before the first cut.
The cross-banded plies damp vibration and stay flat through humidity swings, which keeps the neck pocket where the drawing put it. Builders who need more mass laminate a second layer with reversed grain.
Multi-ply birch panels carry more layers at the same thickness, and those layers hold a screw at the baffle while damping the wall. Confirm the ply count against the thickness before the cut list goes out.
More plies at the same thickness mean thinner veneers, less movement, and a cleaner edge stripe. Two sheets sold as the same size can differ by two plies, so read the count rather than the label.
Yes, and the stripe is a feature builders often show. Seal it with a thinned pass first so the layers absorb evenly under the topcoat.
A built-up film that gets block-sanded between coats resists sweat and knocks, while a thin coat burns through at the first scrape. Step the grit down rather than up so the veneer stays under the film.
A plywood build for an instrument or an enclosure earns its place when the ply count matches the mass the drawing wants, the brace keeps the wall from flexing, and the edge gets sealed before the topcoat. Confirm the face, the ply count, and the lot against the drawing before the order ships, then check the delivered stamp at the dock. For panels that carry the body or the baffle, Commercial Plywood covers the general range, Melamine Plywood brings a factory face, and MDF Board serves painted infill panels. Confirm the core, the face, and the certificate with HYY before the order goes out, then check the delivered sheets at the dock.