Our Location
5th Floor, Huake Center, Lanshan District, Linyi City, Shandong Province, China

5th Floor, Huake Center, Lanshan District, Linyi City, Shandong Province, China
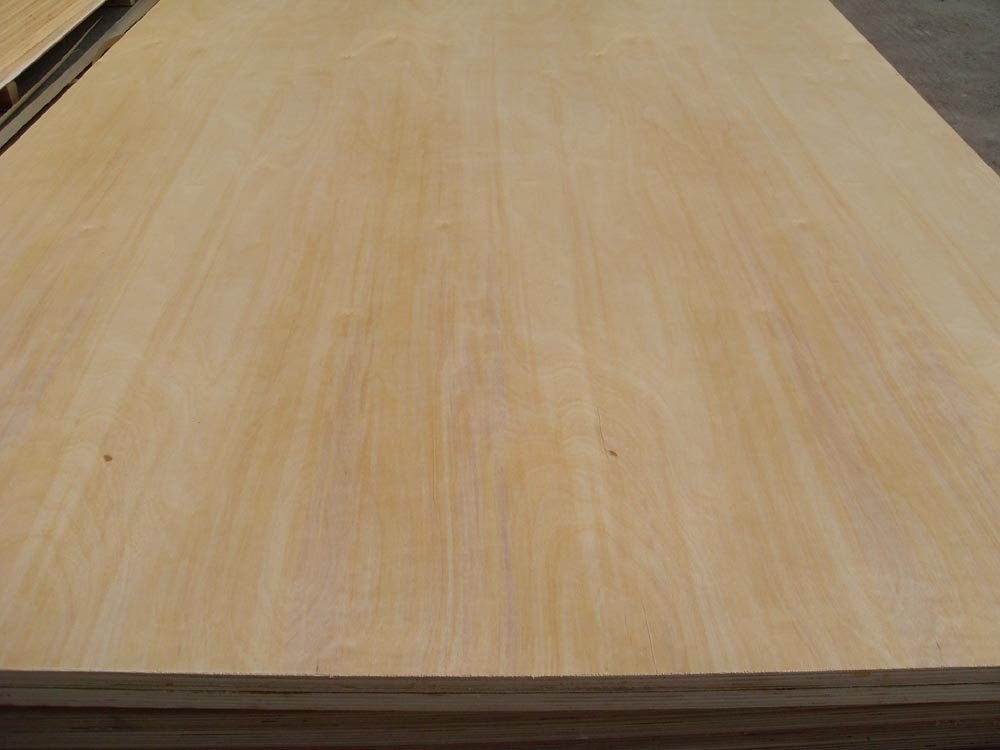
A plywood l shape appears wherever two panels meet at a right angle: a column cladding, a shelf return, a bench end, or a frame corner. The geometry is simple, yet the corner joint carries the whole question, because an L that opens by a degree reads as a defect on every visible edge that follows.
This guide covers the joint types that build an L, how grain direction at the corner decides movement, how to reinforce the angle so it survives handling, and how to finish the seam so it disappears under the coat.
Three joints cover most plywood L assemblies, and each trades strength against the effort the shop is willing to spend.
| Joint | Strength | Appearance |
|---|---|---|
| Butt joint | Needs reinforcement | End grain shows at the edge |
| Miter joint | Glue area is thin | Grain wraps the corner |
| Dado joint | Mechanical lock | Seam sits inside the panel |
A butt joint lands one panel end against the face of the other, and it assembles fast with clamps the shop already owns. The joint shows end grain at the edge and leans on screws or biscuits for the strength that glue alone cannot deliver across the narrow bond line. Shops that paint the corner accept the seam, while a stained corner earns a joint that hides it.
A miter that gets cut at one fence setting on the first panel and a slightly different one on the second closes at the tip and opens at the heel, and no amount of clamp pressure corrects the difference. Set the saw once, cut both faces, then test the pair on the bench before glue enters the joint. The single setting turns a corner that closes along its full length.
A miter turns the corner so the grain appears to continue around the angle, which is why visible furniture asks for it. The joint presents two long-grain faces meeting at a shallow glue line, and that line needs clamping pressure across the full length to close without a gap. A miter that closes tight at the shop stays tight on the wall, while one that opens a hair shows a dark line after the finish.
A dado cut in several shallow passes drifts as the blade wandering between sets, while a single pass at full depth holds the line the fence set. Test the groove against a scrap of the actual panel before the workpiece enters the saw, because a groove a fraction narrow forces the panel to cut a new path as it seats.
A dado cuts a groove across one panel so the second seats into it, and the mechanical lock carries load that a glue line alone would not. The groove width must match the panel thickness the caliper measured rather than the nominal size the label claims, because a loose dado racks the corner out of square during the clamp-up.
The two panels move across their grains at the corner, and the direction each panel faces decides whether the seasonal swing opens the seam or merely flexes the assembly.
When the two panels carry their grain directions at right angles, each one moves across a different axis, and the corner stays square through a wet season and a dry one. A builder who runs both grains parallel to the same wall concentrates the movement in one direction and gives the seam a reason to open. Read the arrows the mill stamps on each sheet, then orient the panels so the movements split across the corner rather than stack against it.
The wet season swells the panel across its grain, while the dry season shrinks it back and gives the seam a second chance to show. A corner built in July opens a hair by January, and one built in winter closes tight by summer. Read the joint against the season the build faces first, then let the finish hide what the swing displays.
Plywood moves less than solid lumber because the cross-banded plies restrain each other, yet the movement does not disappear. A rigid frame that denies the movement transfers the stress into the fasteners, and a screw that holds a panel that wants to move eventually pulls its own hole oval. Leave the joint the flexibility the material earns, then let the finish hide what the movement shows.
Glue closes the seam, yet the assembly still needs reinforcement to survive the handling between the bench and the install.
A biscuit that absorbs glue swells in the slot, and that swell pushes the two panels apart at the very moment the clamps should pull them together. Let the glue tack before the final clamp pressure, or size the slot so the swell stays inside the groove. The habit keeps the seam the shop cut rather than the one the biscuit decided.
A biscuit slot cut into both panels keeps the faces flush as the clamps close, which prevents the step that sanding cannot remove. The biscuit adds some strength, yet its first job is alignment, because a corner that clamps up flush finishes flush. Cut the slots against the same reference face on both panels so the surfaces meet without a lip.
A corner bracket behind the joint carries the load that a thin glue line cannot, and it sits where the eye never reaches. Size the bracket against the load the drawing assumes, then fasten it into the solid zone rather than the edge, because a fastener that lands in the plies pulls out under the first heavy season.
The seam decides how the corner reads after the finish goes on, and the preparation earns most of the result.
Sanding across the corner line cuts a trough at the joint that the finish reads as a shadow, while sanding along each face keeps the two planes level. Work one face at a time, then check the corner under a raking light before the primer goes on. The light reveals what the flat overhead lamp hides.
A filler applied to the raw panel sands flush with the surface, while a filler sprayed over the primer telegraphs the line as a shadow under the topcoat. Fill the seam before the primer, then sand through the filler with the surrounding surface so the corner reads as one plane. The sequence costs an extra pass and removes the line that gives the joint away.
The miter or butt presents end grain at the corner, and end grain absorbs finish at a different rate than the face, which shows as a dark band after the coat dries. Seal the end grain with a thinned coat before the finish, then let it cure before the topcoat goes on. The pre-seal levels the absorption and keeps the corner tone even across the joint.
Answers shops raise at the bench.
A miter wraps the grain and hides the end, while a butt joint shows the plies and suits a painted corner. Match the joint to the finish the drawing names.
Less than solid lumber, yet enough to open a rigid seam across the seasons. Orient the grains so the movements split across the corner rather than stack against it.
Their first job is alignment, because a corner that clamps up flush finishes flush. The strength they add is a bonus behind the bracket that carries the load.
Wide enough to grip the panel the caliper measured rather than the nominal size the label claims. A loose dado racks the corner out of square during the clamp-up.
Filler applied over the primer telegraphs the line as a shadow, while filler applied to the raw panel sands flush. Fill before the primer, then sand through with the surrounding surface.
An L corner earns its keep when the joint matches the finish, the grains split the movement, and the reinforcement lands in the solid zone rather than the edge. Confirm the face, the thickness, and the lot against the drawing before the order ships, then check the delivered stamp at the dock. For panels that meet at the corner, Commercial Plywood covers the general range, Melamine Plywood arrives factory-finished for visible runs, and Chip Board serves hidden structure at a lower cost. Confirm the core, the face, and the certificate with HYY before the order goes out, then check the delivered sheets at the dock.