Our Location
5th Floor, Huake Center, Lanshan District, Linyi City, Shandong Province, China

5th Floor, Huake Center, Lanshan District, Linyi City, Shandong Province, China
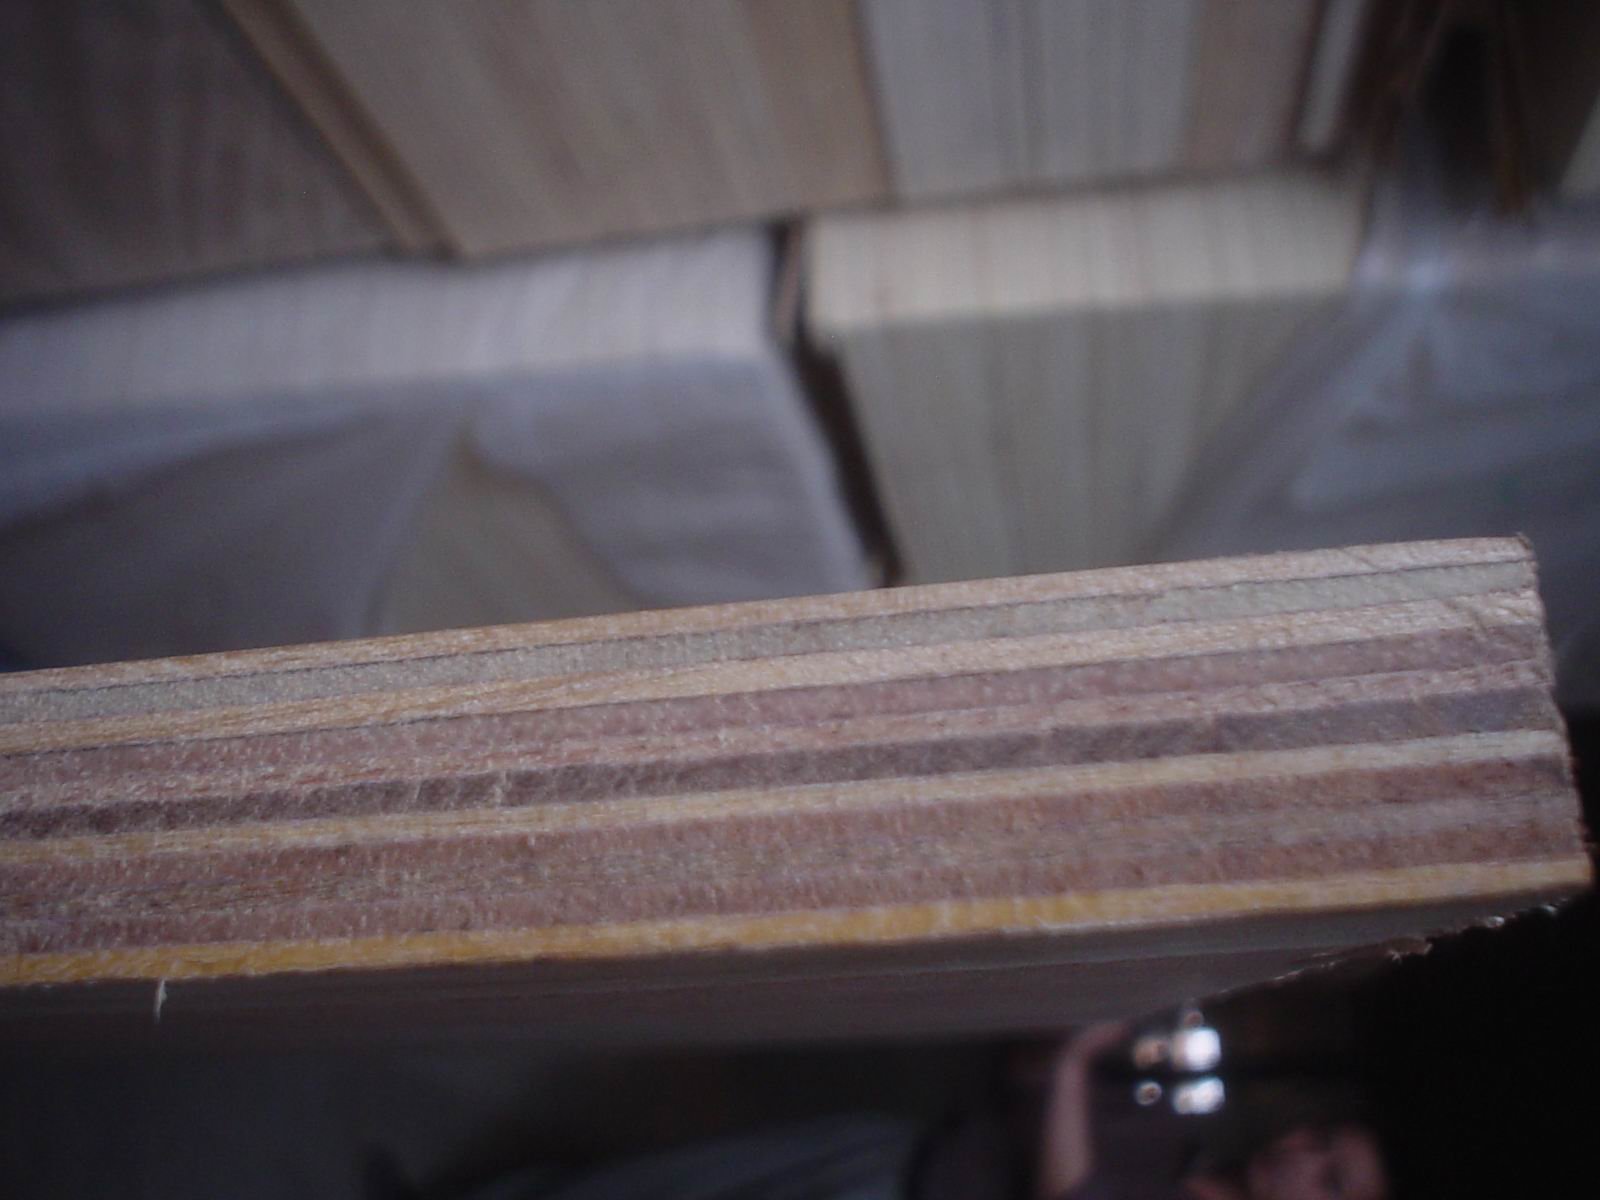
A plywood l desk turns an unused corner into a workspace that holds a monitor, a keyboard, and the paperwork that never fits a single run. The L shape earns its floor space only when the inside corner carries a leg or a support, because a top that spans that corner unsupported flexes the moment a forearm rests on it.
This guide covers how to pick the depth of each leg, how to support the corner, where the cables should run, which surface finish survives daily use, and how to install the desk so the L stays flat against both walls.
The two legs rarely need the same depth, and the split follows what each side of the room actually asks the desk to hold.
A main run deep enough for a monitor stand and a keyboard keeps the viewing distance honest and leaves a strip of clear desk between the screen and the edge. Too shallow, and the monitor crowds the typing zone; too deep, and the far edge becomes a storage shelf that never gets cleared. Measure from the wall to the seated elbow, then add the stand footprint before the cut list goes out.
A shallower return suits reading, signing, and the laptop that moves in and out through the day, and it keeps the aisle clear behind the seated position. The return depth should clear the binder width the user actually handles, because a return sized for a catalog photo stores nothing that matters.
A desk that sits too high forces the shoulders up, while one that sits too low drops the wrists below the keyboard line. Set the height against the chair the user already sits in, then confirm the knee clearance under the frame before the top gets fastened. The measurement costs a minute and prevents the desk that gets shimmed after the first week.
The corner is where the two runs meet and where the top carries a forearm with no stud directly beneath, so the support there decides whether the joint stays closed.
| Corner support | Strength | Best for |
|---|---|---|
| Corner leg | Direct load path | Heavy tops and open ends |
| Blocking bridge | Rigid, hidden | Wall-to-wall runs |
| Steel bracket | Open, adjustable | Retrofits and tight aisles |
An end that stands away from the wall needs a leg at the corner, because the reaction has nowhere else to land. Size the leg to carry the top plus the load the drawing assumes, then set it on a foot that spreads the point load across the floor rather than denting it. The leg also gives the seated user a knee break that the wall side never needs.
A blocking bridge spans both frames at the corner and gives the top continuous bearing without a leg in the knee space. Cut the bridge flush with the frame faces, then screw it through both runs so the connection carries shear rather than the screws alone. The bridge pays for itself the first time a full coffee mug lands on the corner.
Cables that arrive after the top goes down earn a retrofit hole that weakens the panel, and the desk that hides them at the build stage stays clear at the use stage.
A grommet behind the monitor column gathers the power and display cables in one place, and the collar that finishes the hole keeps the edge from chafing the cords. Mark the position against the actual monitor stand rather than a symmetric guess, because a grommet an inch off the column collects nothing.
The corner is where the two runs meet and where the cable changes direction, so a service loop there lets the top move with the seasons without pulling a plug out of the strip. Gather the slack into the loop rather than the knee space, then tie it so the cleaning crew does not snag it.
A cable tray mounted under the back rail holds the power strip off the floor and keeps the plugs within reach of the seated position. The tray also gathers the slack that otherwise loops across the knee space, and it lets the desk move for cleaning without unplugging the whole run.
The top meets the hand, the keyboard, and the occasional coffee cup, and the finish choice follows the abuse the surface will actually take.
A laminate face sheds the coffee ring and the pen mark that a raw veneer absorbs, and it wipes clean without a coaster culture. The trade sits at the edge, where the laminate line shows unless the band covers it cleanly. Shops that want the wood look under the abuse order a veneer top with a hard clear coat, then accept the prep time that route demands.
A sharp edge bothers the forearm after an hour, while a rounded or lipped edge disappears under the arm. Ease the front edge to the radius the drawing names, then seal it so the daily contact does not lift the finish. The rounding costs a pass with the router and saves the complaint that follows a long session.
The install decides whether the L reads as built-in or as two boards that happen to meet, and three habits cover the difference.
Walls rarely hold a straight line over a full run, and a scribe follows that line so the desk closes the gap without a caulk bead that cracks later. Set the long side against the wall, mark the deviation, then trim the back edge before the return gets fastened. The scribe costs a pass with the saw and removes the gap the caulk only postpones.
A top that meets a frame out of level rocks at the corner and refuses to sit flat against both walls. Shim the long run first, transfer its level line to the return, then fasten the frames only after both legs read level. The order prevents the top that arrives cut square to a frame that was not.
Wood moves across the grain with the seasons, and a top butted tight against a perpendicular wall buckles when the humidity climbs. Leave the gap the material allows, then cover it with a trim piece that hides the movement rather than fighting it. The gap keeps the corner flat through the wet season and the dry one.
Answers builders raise before the cut list.
The main run clears the monitor stand and the keyboard, while the return clears the binder width the user handles. Measure from the wall to the seated elbow before the list goes out.
An open end needs a leg at the corner, because the reaction has nowhere else to land. A wall-to-wall run can hide the support in a blocking bridge instead.
A laminate face sheds the rings and marks that a raw veneer absorbs, while a veneer top earns the wood look with a hard clear coat. Ease the front edge so the forearm disappears under it.
Behind the monitor column, marked against the actual stand rather than a symmetric guess. The collar that finishes the hole keeps the edge from chafing the cords.
Enough to let the panel move across the grain through the seasons, then covered with a trim piece that hides the movement. A tight joint buckles when the humidity climbs.
An L desk earns its place when the depths follow the seated user, the corner carries a leg or a bridge, and the cables route through the frame before the top closes. Confirm the face, the thickness, and the lot against the drawing before the order ships, then check the delivered stamp at the dock. For the panels that carry the run, Commercial Plywood covers the general range, Melamine Plywood brings a factory face that resists handling marks, and MDF Board serves painted ends. Confirm the core, the face, and the certificate with HYY before the order goes out, then check the delivered sheets at the dock.