Our Location
5th Floor, Huake Center, Lanshan District, Linyi City, Shandong Province, China

5th Floor, Huake Center, Lanshan District, Linyi City, Shandong Province, China
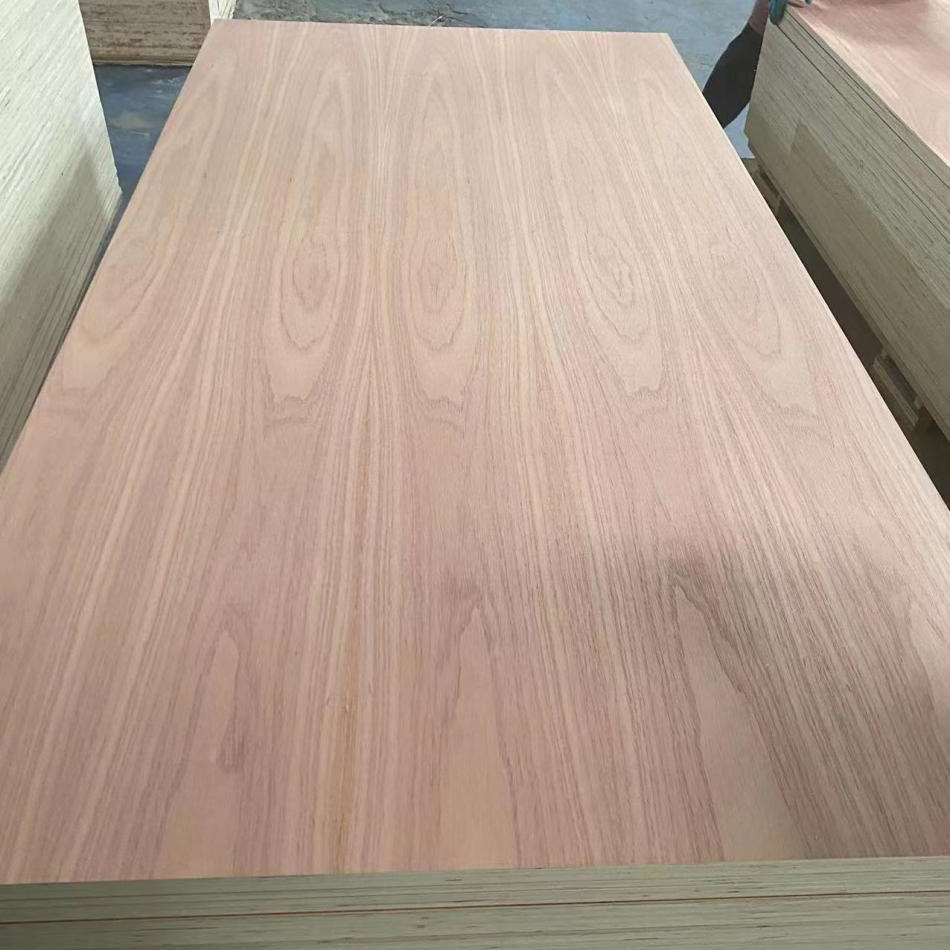
Buyers who search plywood how to make usually hold a project in mind rather than a factory tour, and the question behind the search is how to turn a sheet into a shelf, a table, or a cabinet box without wasting material or fighting the panel. The answer starts with the cut list and ends with the edge, because every step in between decides whether the build sits square and stays flat.
This guide covers how to read a sheet before the first cut, how to plan a cut list that minimizes waste, how to cut and assemble so the parts stay true, and how to finish the edges that moisture will later try to enter.
Every plywood project reduces to a set of panels that carry load, meet the eye, or both, and the build type sets the face grade, the thickness, and the edge detail before the first sheet is ordered.
Shelves span between supports and carry distributed weight, so the panel choice follows the span rather than the look. A clean face suits visible shelves in a living space, while a working face covers a garage rack that stores tools and paint. The edge detail matters more on shelves than on almost any other build, because the rim meets the hand every time a bin slides out.
A tabletop needs stiffness across the full width and a face that survives daily contact. Thicker panels or laminated layers resist the sag that a single thin sheet shows over time, and the edge band decides whether the build reads as furniture or as a shop fixture. Buyers who plan the base first often discover that a lighter top on a stiffer frame beats a heavy top on a weak one.
Cabinet panels carry fasteners at the corners and hardware on the faces, so the core quality outranks the face letter on the hidden sides. A solid core holds a shelf pin and a hinge screw, while a patchwork core belongs on backs that carry no load. The cut list for a cabinet also sets the grain direction on every visible edge, which is why the layout step deserves more time than the saw step.
A plywood sheet is not uniform, and the two faces plus the four edges each tell a different story about where the panel should go in the build.
| Sheet feature | What it tells you | Where it belongs |
|---|---|---|
| Show face | Grade and tone | Visible tops and doors |
| Back face | Working quality | Hidden sides and backs |
| Cut edge | Core construction | Joints and fastener zones |
| Stamp area | Thickness and lot | Acceptance and matching |
The moment a sheet comes off the rack, mark the face that will meet the eye with a chalk arrow or a sticky note. Panels shuffle between the bench and the floor during a build, and a sheet that lands face down under a tool caddy picks up scratches that sanding will not fully erase. The mark costs a second and protects the surface the finish will display.
The cut edge reveals the core that the face conceals, and a void near the rim opens a path for moisture and a weak zone for fasteners. Sight along each edge before the first cut, then route the parts that carry visible edges to the cleanest zone of the sheet. The inspection takes a minute and prevents the shelf that delaminates at the rim after one wet season.
The saw setup decides whether parts come off the sheet at the marked size, and three habits cover most of the errors that force a re-cut.
A full sheet rarely fits on a sawhorse setup, so the first pass breaks it into manageable pieces slightly oversize, and the second pass trims each part to the list dimension. The two-step sequence keeps the offcut from tearing out on the long rip, and it lets the builder re-measure each part against the cut list before the final pass.
Every cut removes a strip of material, and that strip multiplies across a long list. Lay the parts on the sheet diagram with the kerf width between them, then add the trim allowance at the factory edges. The layout that ignores the kerf runs one part short at the end of the sheet, and the re-order costs more than the planning did.
Glue and fasteners work together in a plywood joint, and the sequence between them decides whether the assembly closes square or racks as the glue cures.
A square assembly has equal diagonals, and the measurement settles the question before the glue locks the shape. Run the tape corner to corner on both diagonals while the clamps are still loose, then rack the frame gently until the two numbers match. The check costs a minute and prevents the cabinet that stands out of square against the wall.
A dry assembly exposes the parts that were cut long, the edges that do not close, and the grain directions that fight each other. Run the full assembly without glue, check the diagonals, then disassemble and apply adhesive only where the fit already works. The dry step costs a few minutes and prevents the clamp-up that discovers a short part halfway through.
Clamp pressure belongs across the glue line, with cauls that spread the force and pads that protect the veneer. A clamp foot landing directly on a show face leaves a ring that no topcoat hides, while a caul turns the same force into even pressure along the joint. Check the diagonals once the clamps are snug, because the glue has not yet locked the shape.
The edge is where a plywood build either ages well or fails early, and the treatment choice follows the exposure the project will actually see.
Edge banding covers the plies with a thin strip that accepts the same finish as the face, while solid lipping adds a durable rim that absorbs knocks. A raw edge suits a shop fixture that lives indoors and never meets a wet cloth, yet any edge that faces traffic or moisture earns a sealed treatment before the project leaves the bench.
A fresh cut opens the plies to moisture, and an unsealed rim swells under the first humid week. Seal every exposed edge with a system the finish accepts, then let it cure before the topcoat goes on. The sequence prevents the edge that lifts the finish from underneath, which shows up as a thin line of delamination months later.
Answers shops raise before the first project.
Three-quarter inch suits shelves and small tables, while half inch covers backs and light panels. Match the thickness to the span, then add a support if the sheet flexes under its own weight.
Score the cut line with a knife, then cut with the good face up on a crosscut or down on a rip, depending on the saw. A zero-clearance insert also closes the gap that lifts the veneer.
Glue holds a well-fitted joint, yet mechanical fasteners or biscuits add insurance while the glue cures. Clamp across the joint until the adhesive sets, then check the diagonals before the clamps come off.
The letter pair on the stamp names the show face first, and the cleaner letter faces the eye. Mark the sheet at the stack so the arrow survives the shuffle between the bench and the floor.
Add stiffeners across the width or laminate a second layer with reversed grain. A single thin sheet spans wide and sags under its own weight over time.
Every plywood build follows the same sequence: read the sheet, plan the list against the kerf, cut rough then final, assemble dry before glue, and seal the edge before the finish. Confirm the face, the thickness, and the lot against the project demands before the order ships, then inspect the delivered stamp at the dock. For panels that match the cut list, Commercial Plywood covers general builds, Melamine Plywood arrives factory-finished for cabinet boxes, and Chip Board serves hidden backs at a lower cost. Confirm the core, the face, and the certificate with HYY before the order goes out, then check the delivered sheets at the dock.