Our Location
5th Floor, Huake Center, Lanshan District, Linyi City, Shandong Province, China

5th Floor, Huake Center, Lanshan District, Linyi City, Shandong Province, China
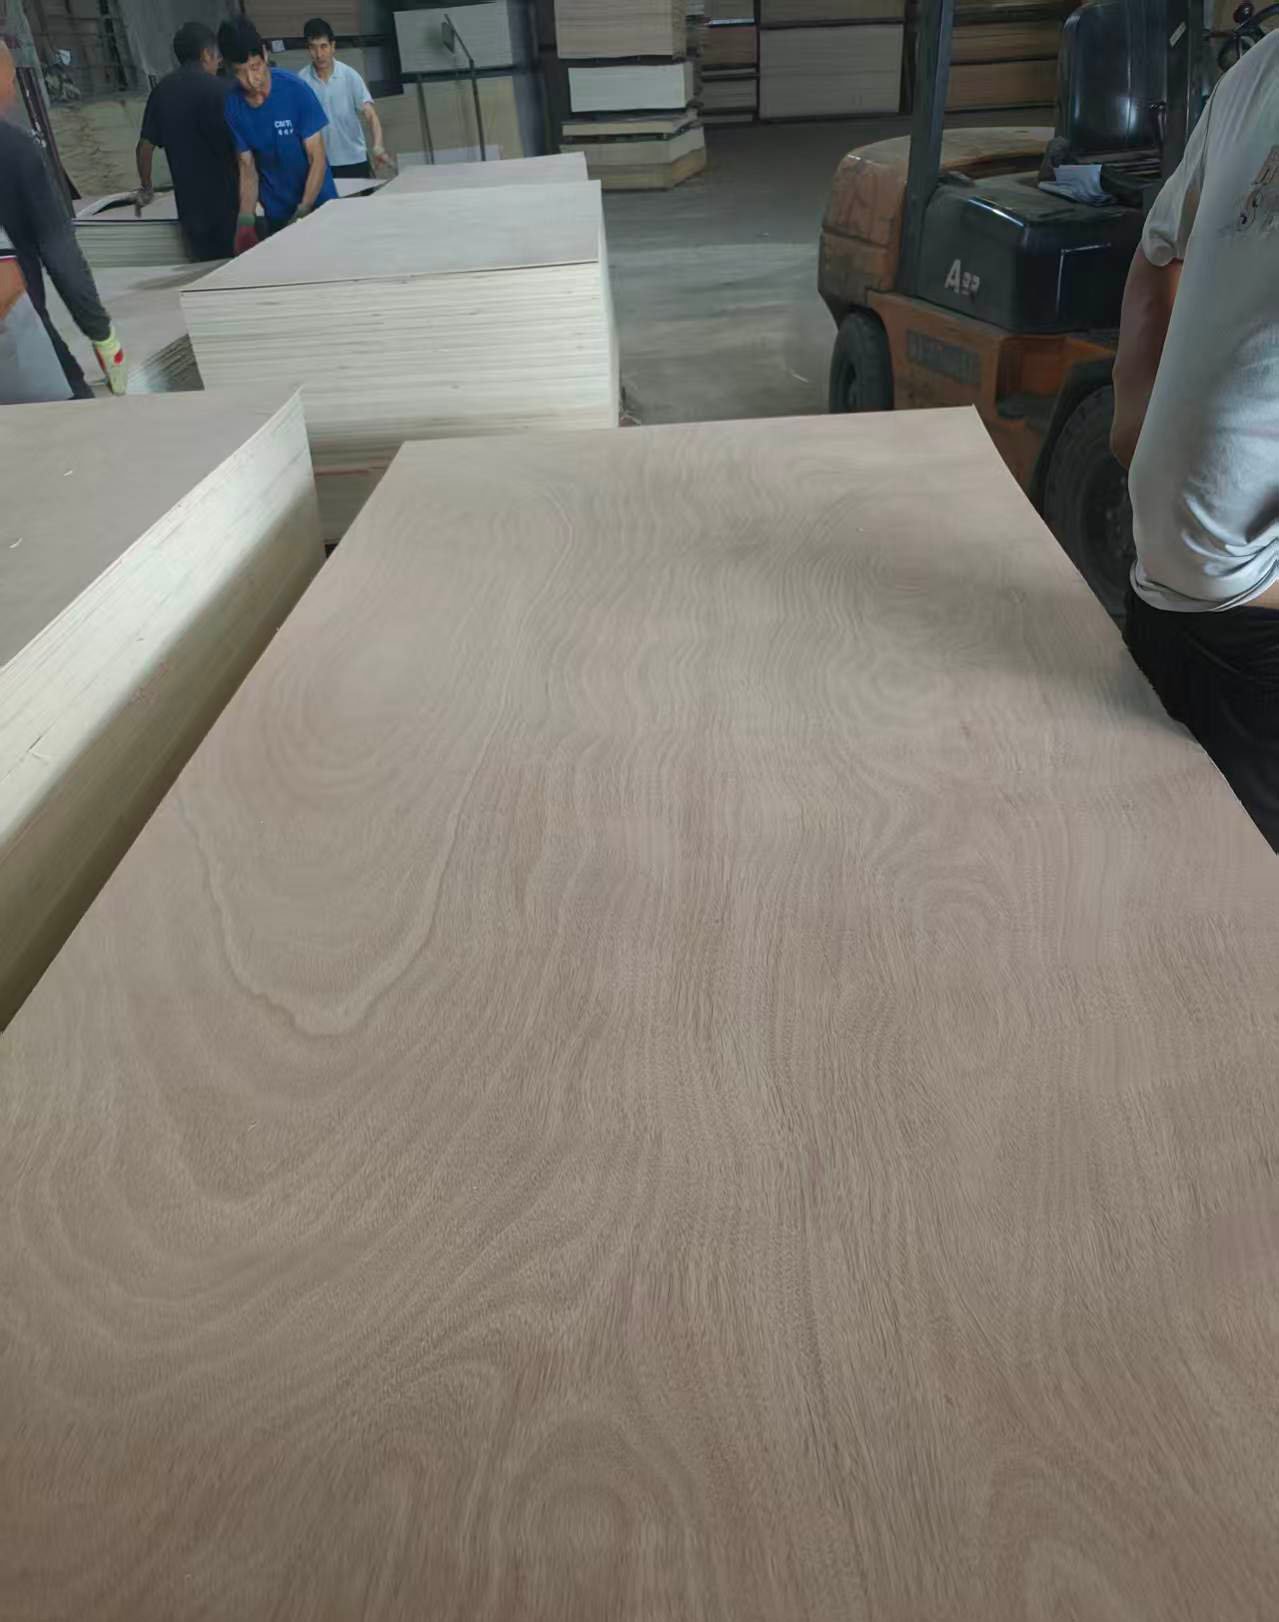
H plywood clips, often called H-clips, are small metal connectors that slide over the joint between two plywood sheets to keep the edges level. Without them, a seam between partially supported sheets can shift, ridge, and telegraph through the finished surface. Contractors insert them between sheets during sheathing to hold the joint flat.
Experienced crews treat the clip layout as part of the drawing, not an afterthought. Marking the seam pattern on the sheathing schedule prevents the two classic failures: too few clips at mid-span and a rigid seam that cannot breathe with the seasons.
This guide explains what H-clips do, how to space them, and how many a typical installation needs.
An H-clip looks like a flat metal H viewed from the side. It straddles the butt joint between two sheets and grips each edge lightly, preventing one side from rising above the other under load or temperature movement.
The clip solves a specific geometry problem. Where a sheet edge meets another sheet edge and both rest on separate support bays, each side can deflect at its own rate. The clip couples the two edges so the deflection stays equal and the seam reads flat through the wear layer above.
Sheathing installations use the clips where a joint falls between supports. The clip transfers some vertical movement from one panel to the next, keeping the seam flush when the sheets bend together.
A butt joint between two unsupported edges tends to move independently. Wood swells and shrinks with moisture, and traffic loads push one sheet down while the next stays put. The clip ties the two edges so they move as one.
Spacing rules depend on the span and the direction of the joint. Most installations set clips at intervals along the seam so the gap stays even and the edges stay aligned over the full run.
| Joint type | Typical clip spacing | Notes |
|---|---|---|
| Panel butt at supports | Clips on every bay | Allows free expansion |
| Mid-span joint | Clips between supports | Holds edges level |
| Cantilever edge | Extra clips | Prevents curling |
Read the table as a starting point. The local code and the panel span table give the exact pattern for your framing, so follow the approved layout rather than guesswork.
Leave a small gap between panels for expansion, and let the clip bridge the gap without forcing the edges together. A clip that jams the sheets can cause buckling when moisture moves the panels.
Field crews usually count clips per sheet edge rather than per run. Mark the layout on the sheathing before fastening so the crew places clips at the same interval on every seam. A consistent pattern keeps the finished floor flat across the whole room.
Keep a small stock of spares in the job box. Clips are cheap to lose and awkward to recover later, so a handful of extras saves a trip when a clip drops between sheets.
Install the clip after the first sheet sits in place and before the next sheet slides in. Push the clip over the first edge, then slide the second sheet into the slot so both edges engage.
Alignment matters more than speed. Start with the sheet corners locked to the framing marks, fit the clip to the seam, then fasten the panel into the joists or studs. A clean corner pattern prevents the seam from wandering as the run progresses.
Work through the sequence quickly. A clip that seats into both edges quietly holds the seam flat through the rest of the install.
After fastening, glance along the seam for a level line. A clip that shifted before fastening leaves a visible step that shows up after the paint or finish layer goes on.
The clip size matches the panel thickness and the joint design. Confirm the gauge and the grip width against the sheets you install so the clip seats firmly without forcing.
For sheathing and subfloor work where the panel must stay flat and square, a dependable structural sheet earns the job. Commercial Plywood gives buyers general-purpose panels with a face you can specify for the visible side.
Where the surface needs a factory finish to skip on-site painting, Melamine Plywood covers interior panels in one step. For painted flatwork around the assembly, MDF Board machines clean edges where exposure stays dry.
H-clips support joints; they do not replace beams or studs. Where a span exceeds the panel rating, add framing rather than extra clips, because a clip cannot carry a load the panel cannot handle.
Three errors repeat on site. Skipping clips at mid-span joints, forcing edges tight, and installing the wrong gauge for the panel thickness all produce a wavy seam.
Check the clip against the sheet before bulk installation. A clip meant for a lighter panel may grip too loosely on a denser sheet and slide away from the joint under traffic.
Panels expand and contract with humidity. The clip’s job includes allowing that movement, so install with the specified gap and let the fasteners ride rather than fixing the seam rigid.
When a seam reappears in the finish, check the three usual suspects in order: the clip gauge against the panel thickness, the spacing against the framing span, and the gap left for expansion. Most wavy seams trace back to one of the three.
Fix the cause rather than the symptom. A bowed sheet needs straightening at the fastening stage, not a heavier clip on top, so confirm the panel lies flat before adding connectors to hold it there.
Answers to the questions that come up when a seam needs to stay flat.
Only on joints that fall where the edges need support, such as mid-span seams. Check the span rule for your framing before installing.
Keep the fastening pattern regular around the seam. Evenly spaced fasteners hold the sheet down so the clip only keeps edges level, and a regular pattern reads cleaner in the finished surface than scattered fixings.
Yes. Drive the panel fasteners per the schedule after the clip seats. The clip aligns the edges; the fasteners fix the panel.
They reduce edge movement that causes noise, but squeaks also come from loose fasteners and floor structure. Check the full assembly before blaming the seam.
Each clip targets a thickness range. Match the gauge to your sheet so the grip stays firm without bending the clip.
Total the seam footage, divide by the approved spacing, and add a generous spare before ordering. Crews lose clips to dropped fasteners and missed pockets, so a job-sized order with spares keeps the installation moving without a supply run.
Structurally, the clip aligns edges, while the panel and framing carry the load. This is why engineers still size the joists and fasteners instead of trading framing for clips.
Reuse only if the clips are straight and the gauge still matches the new panel thickness. Bent or stretched clips seat loosely and defeat the purpose of the connector.
Yes, where the subfloor spans between joists. Interior panels move with humidity just like exterior sheets, so a clip at a mid-span seam keeps the joint level through the life of the floor.
Galvanized or coated clips resist normal indoor moisture. In wet service, confirm the clip finish matches the exposure so the connector does not corrode ahead of the panel.
Leave the clips in place; they sit at the seam and hide under the finish. Removing them opens the joint to movement again.
Confirm the clip gauge matches the panel thickness, leave the specified gap, and seat every clip before fastening. Support mid-span joints with framing and reserve clips for edge alignment rather than load bearing. A level seam starts with the right clip and the right panel playing together. Confirm the panel thickness and edge behavior with HYY before you order, then install clips to the approved pattern at the site.