Our Location
5th Floor, Huake Center, Lanshan District, Linyi City, Shandong Province, China

5th Floor, Huake Center, Lanshan District, Linyi City, Shandong Province, China
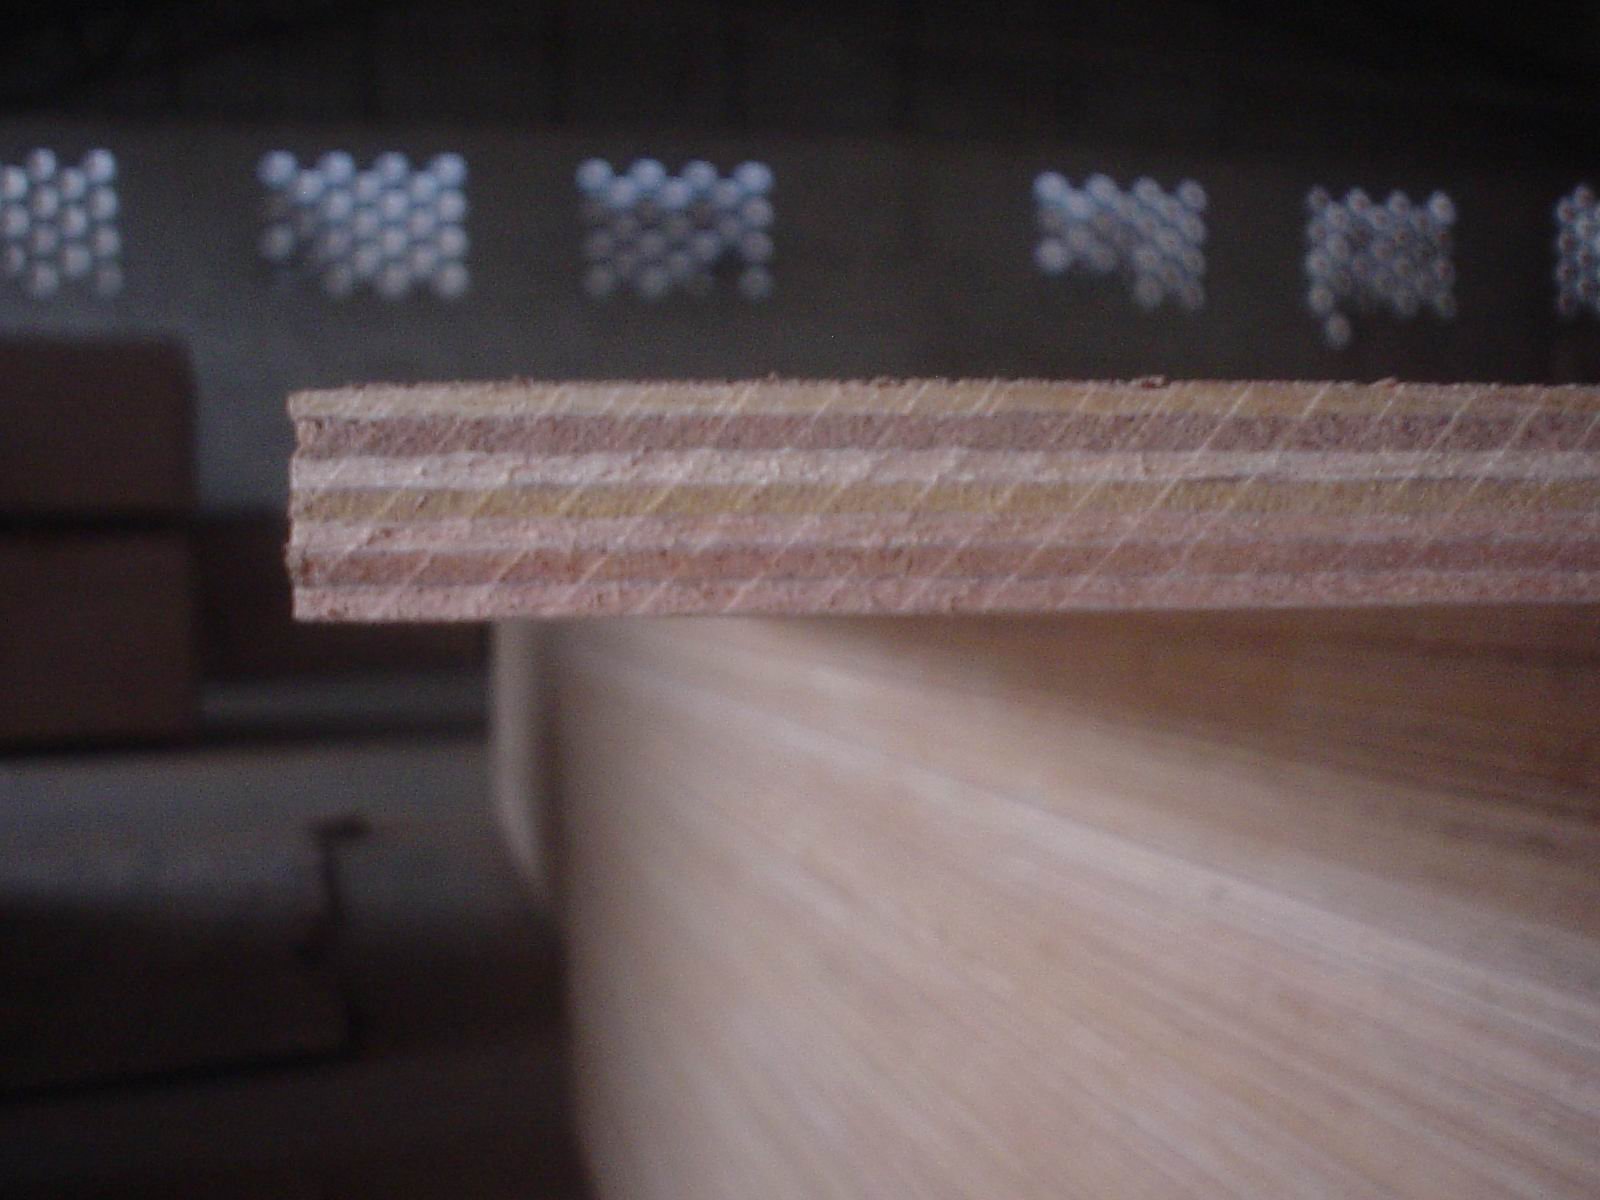
A plywood i beam joist turns a floor into a repetitive system: deep members set at a fixed spacing, a plywood subfloor glued and screwed across the top, and hardware that holds every connection true through the seasons. The system wins on span and on the open web that lets services pass without notching solid lumber.
This guide covers what the joist does in a floor, how depth and span work together, how layout and bridging keep the system flat, how the plywood subfloor pairs with the top flange, and which headers and hangers complete the frame.
The joist carries distributed floor load across a span and transfers the reaction into beams, walls, or headers, and the I shape delivers that capacity at a weight a small crew can set by hand.
Under a floor load the top flange goes into compression while the bottom flange goes into tension, and the depth between them sets the moment capacity of the member. A deeper joist spans further without a proportional weight increase, which is why the span table lists the depth before the flange width. Buyers who read the depth first choose the lightest joist that meets the deflection limit.
The space between the flanges stays open for ducts, pipes, and wiring that would interrupt a solid joist, and that openness saves the framer from the notches that weaken a lumber floor. The cutting rules for those openings belong in the drawing, because a hole in the wrong zone removes shear capacity that the floor depends on.
A floor built from joists set at a fixed spacing behaves as a plate rather than as individual members, and the subfloor ties the tops together so the load spreads across several joists at once. That repetition is what lets a modest joist depth carry a live load that would need a much heavier solid member at the same span.
Span tables pair a joist depth with a load rating and a deflection limit, and the table outranks a memory of a similar floor from last season.
| Decision | What sets it | Check before ordering |
|---|---|---|
| Depth | Span and load | Table line for the real load |
| Spacing | Subfloor thickness | Sheet span between joists |
| Deflection limit | Finish type | L over 240 or tighter |
The published span assumes a distributed load and a deflection limit, and both numbers must match the actual floor the joists will carry. A joist sized for a light occupancy fails the check when the finish floor and the ceiling below add weight the table never assumed. Hold the drawing load against the table line before the order goes in.
A joist can carry its load and still fail the serviceability requirement when it deflects too far under live load, and the floor feels soft long before the structure is in danger. A limit near L over 240 suits most residential floors, while a tile finish earns a tighter limit because the tile cracks at a smaller deflection than wood.
The layout decides how the subfloor spans and how the load reaches the supports, and three habits keep the system flat through the first season.
The plywood subfloor spans between joists, and that span sets the spacing more than a rule of thumb does. A thinner subfloor earns a tighter spacing, while a thicker sheet opens the spacing and cuts the joist count. Order the two together, because a subfloor that spans too far flexes between the joists and telegraphs every seam through the finish floor.
A chalk line across the bearing plate keeps the spacing honest through the whole run, and a crew that snaps the line before the first joist goes up avoids the drift that a tape-measured layout develops at the far wall. Mark the hanger positions on the same line, then set every joist against the mark rather than the last one.
Individual joists roll under a concentrated load, and bridging or blocking ties the tops and bottoms together so the system resists that roll as a plate. The blocking layout belongs on the drawing, because a crew that adds it after the subfloor goes down fights the services that already occupy the web openings.
The subfloor ties the joist tops together and carries the finish floor, so the panel choice follows the span and the finish rather than a habit.
A subfloor that spans a wider joist spacing needs more thickness to keep the deflection under the finish tolerance, and the stamped span rating on a structural panel answers the question directly. Hold the stamp against the spacing on the drawing, then close the gap with a thicker sheet or a tighter spacing rather than a second layer that doubles the cost.
Subfloor joints that land mid-joist leave two sheet edges sharing one narrow bearing surface, and the finish floor telegraphs the seam after the first season. Stagger the joints so each break centers on a joist with full bearing on both sides, then glue and screw the shared edge before the next sheet goes down.
Glue across the top flange eliminates the squeak that a screwed-only floor develops after the first season, while the screws hold the sheet until the glue cures. Run a bead on every flange the sheet touches, then set the screws at the pattern the panel manufacturer publishes. The pair costs a tube of adhesive per sheet and saves the callback a noisy floor earns.
The system works only as well as its connections, and three details keep the frame true after the first season.
Joist hangers that seat on the flange transfer the reaction into the beam without crushing the web, and the hanger size must match the joist depth the drawing names. A hanger that sits on the web loads the panel in a direction it was not built to carry, and the connection fails at a fraction of its rating.
A continuous rim board along the ends carries the sheet edge and closes the joist cavity against air and pests. The rim also keeps the joists aligned during the subfloor install, so a rim that runs out of line walks the whole floor out of square.
Answers framers raise before the layout.
The spacing follows the subfloor span the sheet accepts, and a thinner sheet earns a tighter spacing. Hold the stamped span rating against the drawing before the layout starts.
Openings follow the manufacturer rules for size and position, because a hole in the wrong zone removes shear capacity. Plan the routes in the drawing, then seal every cut edge.
Bridging resists the roll a concentrated load creates, and the blocking layout belongs on the drawing. A short span earns less blocking than a long one, yet the midspan tie still keeps the joists upright.
The thickness follows the joist spacing and the finish tolerance, and the stamped span rating answers the question. Glue and screw the sheet across every flange it touches.
A screwed-only subfloor rubs against the flange as the wood shrinks, and the friction becomes the squeak. Glue across every flange eliminates the movement before the screws go in.
An I-joist floor earns its place when the span needs depth more than mass, the open web carries the services without notching, and the subfloor pairs with the spacing the sheet accepts. Confirm the depth, the deflection limit, and the spacing against the drawing before the order ships, then check the delivered joists for a sound flange-to-web bond. For the subfloor and the sheathing around the frame, Commercial Plywood covers the structural range, Film Faced Plywood seals surfaces for wet service, and Chip Board serves hidden infill. Confirm the face, the bond, and the certificate with HYY before the order goes out, then check the delivered sheets at the dock.