Our Location
5th Floor, Huake Center, Lanshan District, Linyi City, Shandong Province, China

5th Floor, Huake Center, Lanshan District, Linyi City, Shandong Province, China
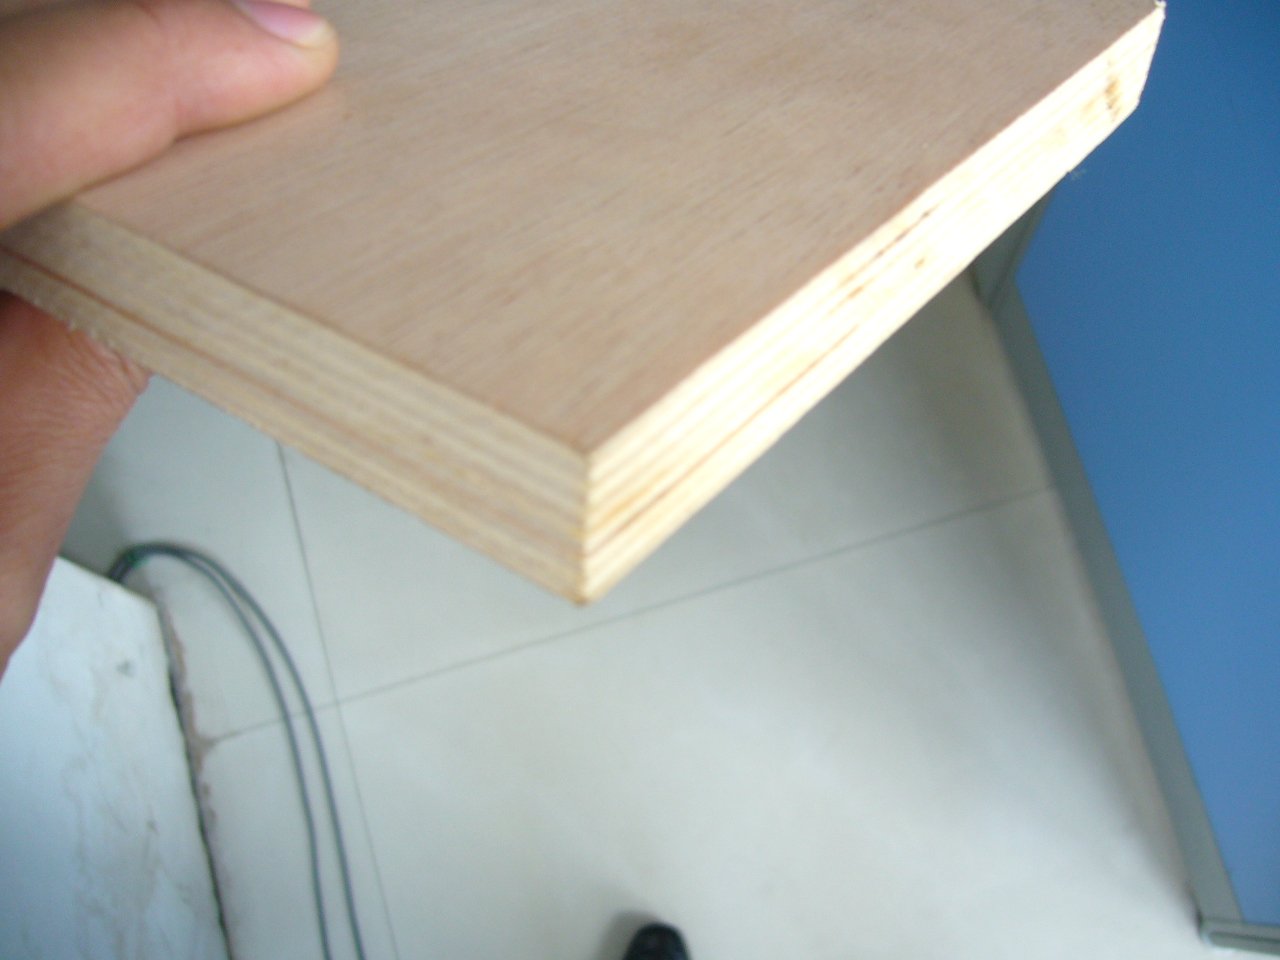
Furniture shops that build a plywood c table work with a cantilever: a top that reaches past its support and an upright that carries the moment back to the floor. The geometry flatters a room and punishes a weak panel, which makes the sheet choice the first decision of the project.
This guide covers the loads the shape creates, the thickness and edge build that answer them, the finish details, and the order notes that keep a production run consistent.
The C shape puts the top into bending and the upright into a combined bend and twist, and both demands land on the same sheet. Buyers who read those loads before the purchase avoid a table that nods under a laptop.
Weight at the far edge of the top multiplies into moment at the upright, so a panel that feels stiff in the store can still flex in use. The remedy sits in thickness, layering, and how far the reach extends.
The vertical leg transfers that moment into the base, and the joint between them decides whether the frame stays true. A reinforced corner and a continuous grain line keep the transfer clean over years of daily use.
The foot must hold the whole assembly down when the top loads, and its length sets the tipping margin. Buyers who match the base to the reach keep the table planted without adding ballast.
Panel choice follows the span of the cantilever, and the edge detail decides how the build reads at arm’s length. Both belong on the order sheet.
| Part | What it carries | Panel approach |
|---|---|---|
| Top | Cantilever bending | Thicker panel or laminated layers |
| Upright | Bend and twist | Cross-laminated or doubled panel |
| Base | Tip resistance | Wide, flat, stable footprint |
| Corner joint | Load transfer | Reinforced with hardware or gusset |
Two thinner sheets glued in crossed plies outperform a single sheet of similar weight, because the crossing resists the twist that a single direction gives up. Shops that laminate keep the material cost flat while the stiffness climbs.
The reach of a cantilever flexes most across the grain, so the layup should put plies across the reach rather than along it. Builders who orient the sheet by grain before the first cut keep the top flat under a load that would bow a careless layout. The check takes a glance at the sheet and saves the reinforcement pass that a soft direction demands later. Mark the grain arrow on every panel at receiving, and let that arrow drive the cut list through the whole run.
A C table invites the eye to its edge, where the plies read as a stripe. Buyers who plan a banding strip, a solid edge, or a painted reveal at the order stage avoid a rushed finish at the bench.
A top that starts flat but learns to sag embarrasses the build, so the spec should hold the line under load rather than at the shop. Three habits cover most of the risk.
A stack of books at the far edge reproduces the worst case better than a hand press at the center. Builders who load the finished piece before it ships catch a soft panel while there is still time to change it.
The joint between the upright and the top carries the full cantilever moment, which makes it the first place a weak build shows. A gusset, a housed joint, or hardware rated for the load all transfer the force, while a simple butt joint relies on glue alone. Specify the joint on the drawing before the panels arrive, because the sheet choice and the joint design answer the same question from two directions. Test the assembled corner with the real load before the run leaves the bench.
A sheet that leans against a wall takes a bow that the assembly then inherits, and the finish hides little of that curve. Store panels flat on a rack and check each one against a straight edge at the cut.
The finish decides how much of the panel character stays visible, and the edge treatment decides how deliberate the piece looks. Choose both before the saw runs.
A clear finish celebrates the grain and demands a cleaner face, while paint accepts a working face and hides tone shifts. A laminate skin serves high-touch surfaces that must wipe clean, and each path changes the panel tier on the order.
The room sets the finish more than the fashion does, because a dining surface wipes daily while a display piece sees little contact. High-touch tops favor a hard-wearing coating, while low-contact panels accept a lighter system at lower cost. Buyers who match the coating to the room schedule fewer touch-ups and hold the appearance longer. Write the finish beside the face tier on the order, because the surface prep changes with the coating the project selects.
Exposed plies take moisture from the air and swell at the rim, which shows up as a lifted band. Seal all four edges with the same system used on the faces, then let the piece cure before it leaves the shop.
Corners take the collisions of daily life, and a soft edge profile or a metal protector keeps the veneer from chipping. The detail costs minutes at the build and saves the touch-up later.
Production buyers optimize for consistency across a run, because a customer who buys two tables expects them to match. The order note carries that consistency from the mill to the bench.
Write the face letter, the tier, and which side shows on the order, then confirm the reading on the delivered stamp. A reversed pair on a visible top means a re-cut rather than a finish.
Request flat panels from one batch so the tops in a run share the same tone and the same curve. Batch drift shows fastest on side-by-side furniture, where the customer sees both pieces at once.
The certificate names the batch and the values behind it, and the file answers the warranty question months later. Hold it beside the stamp photo and the order confirmation.
Answers shops raise before the first cut.
Within the deflection limit you set for the load, no further. Test the finished piece with a real load before you commit the run.
For a cantilever, yes, because crossed plies resist twist while keeping weight down. Confirm the glue line in the bond class.
A sealed edge with a protective profile handles daily knocks best. Match the system to the finish, then seal every exposed face of the edge.
State the face and tier, the flat and square requirement, and the batch request in writing, then match the delivered stamp to the certificate.
Order the full quantity from one batch and store the sheets flat together, because tone drifts between runs and storage bends a leaning panel. The batch certificate names the run, and the stamp photo proves which sheets belong together. Shops that order the whole season at once keep a matched set on the rack for repairs and repeat customers.
Delivery should arrive with enough cure time for storage acclimation and finishing, so order against the production schedule rather than the ship date.
Read the C shape as a cantilever problem: set the deflection limit, choose the thickness or the layup, and fix the edge treatment before the saw runs. Then write the face, the tier, and the batch into the order so a production run stays consistent. For furniture panels with a documented batch, Commercial Plywood covers the general range, Melamine Plywood brings a factory face that resists handling, and MDF Board runs smooth painted parts. Confirm the face, the layup, and the certificate with HYY before the order leaves, then inspect the delivered stamp against your sample.