Our Location
5th Floor, Huake Center, Lanshan District, Linyi City, Shandong Province, China

5th Floor, Huake Center, Lanshan District, Linyi City, Shandong Province, China
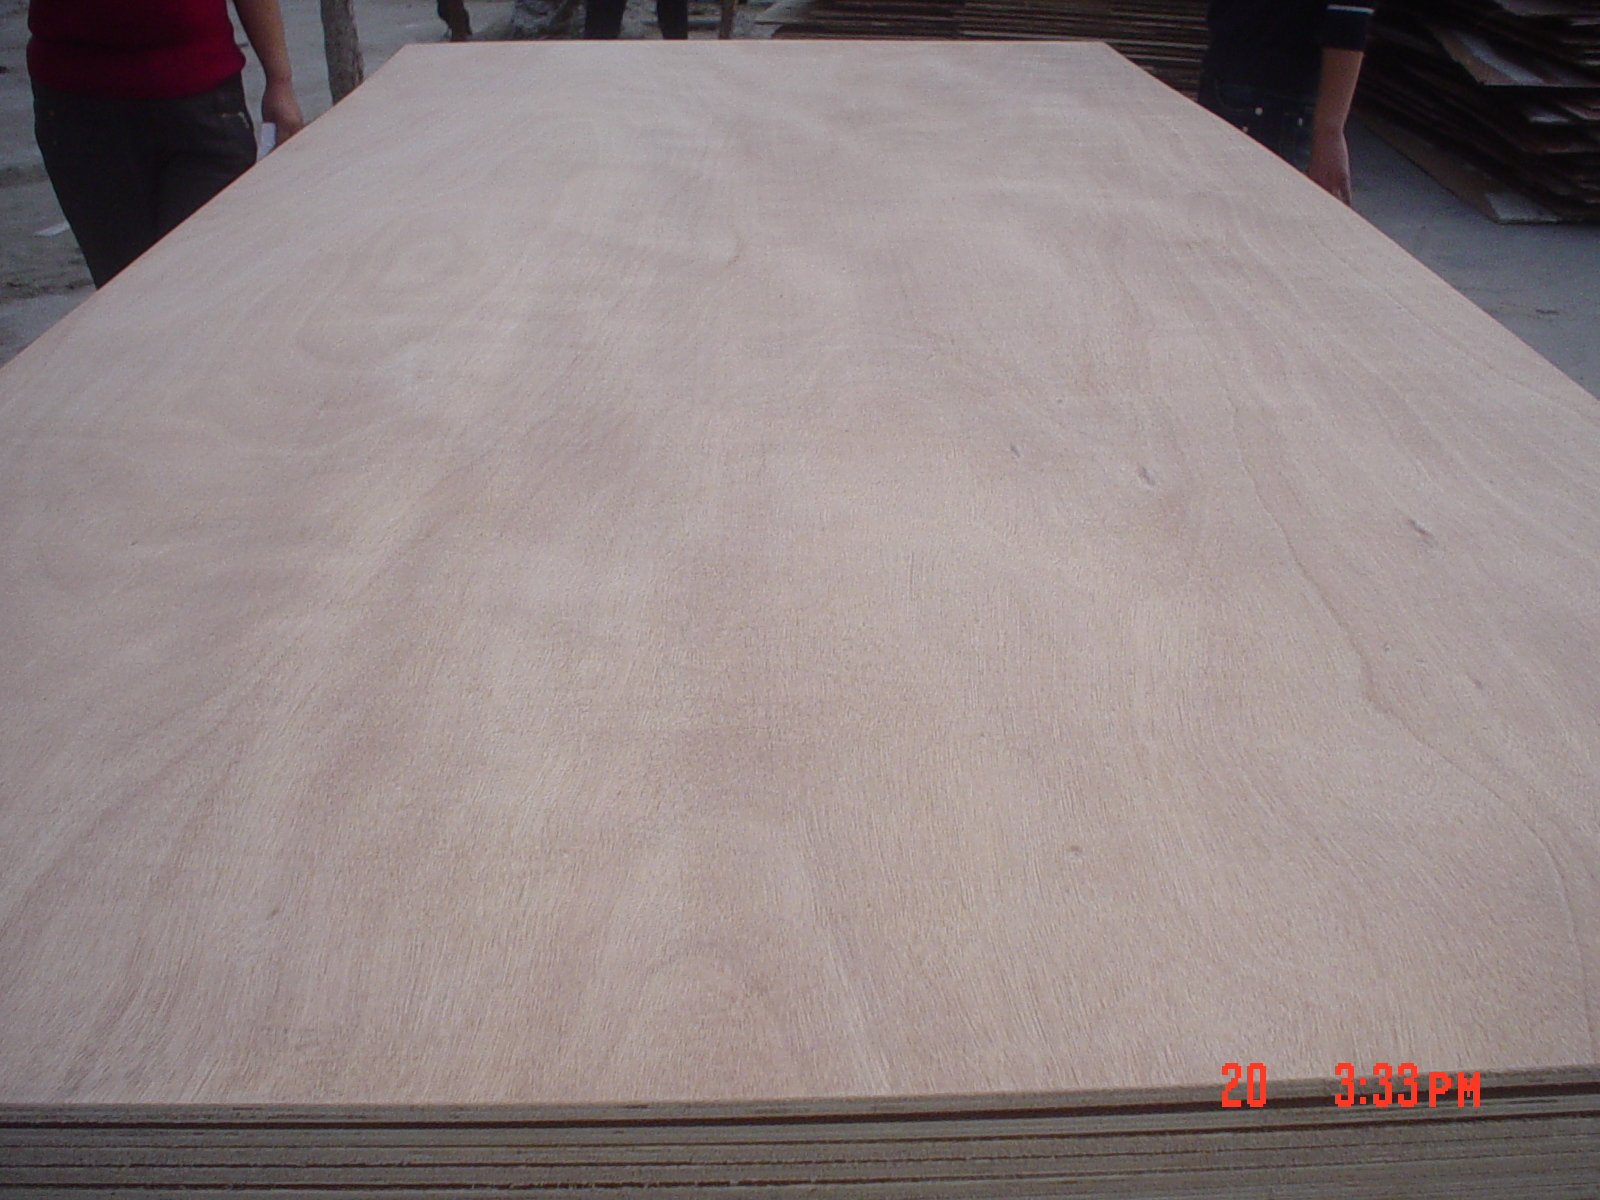
Workshops that reach for a plywood c clamp usually face a glue-up, a repair, or a edge-band run where the panel needs firm, focused pressure. The clamp delivers that force through a small foot, and the same focus that closes a joint can dent the veneer if the setup ignores the surface.
This guide covers where the pressure belongs, how to spread it, how to sequence a panel glue-up, and which clamp details matter at purchase.
A C clamp concentrates the screw force into a small contact patch, so the pressure at the panel far exceeds what a spreader bar would deliver. Plywood accepts that force well through the face and poorly through a bare edge.
The foot of the clamp touches a footprint of a few square inches, and the load per square inch climbs quickly as the handle turns. On a bare veneer the pressure leaves a ring, while a padded foot spreads the same force over a wider area.
Plies stack in layers, and a clamp foot sitting across the edge squeezes those layers together until they delaminate or print. Keep the foot on the face, or bridge it with a caul, whenever the joint sits near a panel edge.
The throat of the clamp carries the reaction load, and a long throat deflects under heavy force. Buyers who match the throat depth to the work keep the force line close to the joint and reduce the flex that misaligns the assembly.
Three simple additions turn raw clamp force into controlled pressure: a pad under the foot, a caul across the joint, and a spacer that keeps the force off the finished face.
| Setup element | What it protects | When to use it |
|---|---|---|
| Soft pad | Veneer under the foot | Every clamp on a finished face |
| Hardwood caul | Linearity of the joint | Long joints and panel edges |
| Backing block | Far side of the panel | Clamps that wrap the full width |
A pad widens the footprint so the pressure per square inch drops, and the joint still closes with full force. Use a hard pad for laminations and a compliant one on a show face where the finish cannot hide a mark.
Every clamp that closes a joint pushes against the far side of the panel, and an unsupported back leaves a dent where the reaction lands. A backing block spreads that reaction and keeps the rear face as clean as the front. The block costs nothing and saves the touch-up pass that a bare support would demand. Buyers who build a small kit of backing blocks find the setup faster on the next run, because the pieces already match the panel sizes the shop cuts most often.
A caul bridges the joint and forces the panel flat along the line instead of at single points. Buyers who cauls long joints watch the seam close evenly from end to end rather than pinching at the clamps.
A panel glue-up rewards a plan, because the open time on the adhesive sets the pace. Set the clamps, the cauls, and the sequence before the glue reaches the joint.
Clamps spaced at even intervals close the seam without high and low spots, and the spacing follows the panel length rather than a fixed rule. Add a clamp where the joint shows a gap instead of over-tightening the neighbors.
Open time rewards preparation, so every clamp, caul, and block should sit within reach before the adhesive opens. A builder who hunts for clamps mid-glue-up loses the minutes that the seam needed most. Dry-run the full assembly once, mark the clamp positions on the bench, and repeat that layout when the glue reaches the joint. The routine turns a stressful five minutes into a repeatable sequence, and the seam closes the same way on the first piece and the fiftieth.
A continuous bead of squeeze-out signals full contact along the joint, while a dry stretch signals a gap that needs another clamp. The line tells the builder where the pressure is missing before the adhesive sets.
Most clamp damage comes from setup choices rather than the tool itself, and the fix costs nothing beyond attention. Review the pattern below before the next run.
A builder who cranks the handle to close a gap usually crushes the edge before the joint moves. Correct the flatness with a caul or a shim, then bring the clamp to firm pressure and stop.
A bare foot on a finished face leaves a ring that the finish highlights instead of hiding. Pad every contact point on a show face, and move the clamp to a hidden area when the joint allows it.
The screw thread and the foot both mark a finished face when they carry heavy pressure, and the finish later highlights those marks instead of hiding them. A pad under the foot and a plate under the screw head keep the hardware off the surface while the force still transfers. Buyers who protect the face at setup skip the sanding pass that careless clamping creates. The habit scales from one repair to a full production run without adding material cost.
Adhesive needs its full cure before the joint carries load, and early removal lets the seam open under the panel own stress. Follow the stated cure time, then unclamp and check the line before handling.
Clamp purchases follow the work: throat depth, jaw capacity, and the force the handle delivers. Buyers who match those three to the panel size stop fighting the tool.
The throat determines how far from the edge the clamp can sit, and a shallow throat forces the builder toward the margin where the risk of damage rises. Buy depth for the widest joint on the list, not for the average one.
Jaw capacity decides which panels the shop can close, and a rack that stops short of the largest assembly forces improvised workarounds. Check the widest glue-up on the current order list before the purchase.
A smooth screw lets the builder feel the pressure climb and stop at firm, while a gritty thread jumps past the target. Test the action at the counter, because the feel predicts the damage rate on a finished face.
Answers shops raise at the bench.
Firm pressure closes the joint and stops there. The squeeze-out line tells you when contact is complete, so back off once the bead runs even.
Short joints usually close without one, yet a caul still protects the line on a show face. Use it whenever the seam must read flat under a finish.
No. Clamps pull the panel to the surface beneath it, so a twisted bench passes its shape into the assembly. Flatten the support first.
Enough to close the seam evenly from end to end, alternating above and below. Add one where a gap appears rather than over-tightening the rest.
Wipe the screw clean, release the tension, and hang the clamp open so the threads stay dry. Clamps stored under pressure take a set that shows up as misalignment on the next assembly, and a clean screw turns smoothly when the glue clock starts.
After the adhesive reaches full cure, not merely touch dry. Check the seam before the panel carries any load.
Pad the foot, bridge the joint with a caul, and stop at firm pressure so the seam closes without a crushed edge. For assemblies that combine structure with a finished face, Commercial Plywood carries dependable two-face construction, Melamine Plywood arrives with a factory face that resists handling marks, and Chip Board covers concealed parts. Review the face, the batch, and the clamp setup with HYY before the run, then check the delivered sheets against the certificate.